

How to sell tickets online for a class, workshop or small event
A step-by-step guide to selling tickets online for a small event: pick a platform, set prices, cap seats, take card payments, cut no-shows and promote it.
· 4 min read

Selling tickets online sounds like something only big concerts need. But if you run a workshop, a class, a tasting, a meetup or a small tournament, an online ticket does three things for you: it takes payment before the day, it stops overbooking, and it tells you exactly who is coming.
This guide walks through how to sell tickets online for a small event, step by step, from choosing a platform to the moment you scan the first ticket at the door.
Step 1: Decide what you are selling
Before you open any tool, write down:
- Dates and times. One date, or the same class every week?
- Capacity. How many people fit? Eight pottery wheels, 20 mats, 40 chairs?
- Ticket types. One price for everyone, or several: early bird, regular, VIP, couple, student?
- What is included. Materials, food, drinks, a recording, a take-home piece?
- Your refund policy. Can people get their money back, and until when?
This takes ten minutes and makes every next step faster.
Step 2: Choose a way to sell
You have three main options:
Messages and bank transfers. Free, but slow. You answer the same questions again and again, chase payments, and track seats in a notebook. It works for one event with a handful of friends, not much more.
A big ticketing marketplace. Easy to start and well known. The catch is fees: many add a fixed fee per ticket on top of a percentage, which hurts on cheaper tickets, and buyers often see an extra charge at checkout.
A simple booking page. Tools built for small events give you a page with your dates, seats and price, take card payments and email tickets. Many charge no monthly fee and take a small percentage only when you sell.
What fees look like on a $40 ticket
Here is what common platforms take on a single $40 ticket, using their published US pricing at the time of writing (platform fee plus card processing):
| Platform | Fee on a $40 ticket |
|---|---|
| Eventbrite | about $4.43 |
| Luma (free plan) | about $3.46 |
| Humanitix | about $3.29 |
| Passfinch | about $2.66 |
Fees change, so check each pricing page, or run your own numbers with the ticket fee calculator. For a full comparison, read Eventbrite alternatives for small events.
Step 3: Set your price
Price from your costs, not from your nerves:
- Add up your costs for one session: room, materials, food, your preparation time.
- Decide what you want to earn for your time.
- Divide by the number of seats you expect to sell (not the maximum).
- Compare with similar events near you.
If you want help with the numbers, try the workshop price calculator or read how to price a workshop.
Tip: show one all-in price. “$45, everything included” sells better than “$39 + fees + materials”.
Step 4: Create your event page
A good event page answers every question before people ask it:
- A clear title: what it is and who it is for.
- Date, time, duration and exact address (or “Online”).
- What is included and what to bring.
- Price and spots left.
- Your refund policy.
- A photo of the real thing: your room, your table, your past class.
Not sure what to write? Read how to write an event description, or use the free event description generator.
Step 5: Cap your seats
This is the step that saves you from the worst day of your month: two people for the last spot. Set the capacity to the real limit of your space, and make sure your tool holds a seat while someone is paying.
Step 6: Take payment upfront
Prepaid tickets are the simplest way to reduce no-shows. People who paid show up, and if they don’t, the seat is still paid for. Check how often the money reaches your bank account.
Step 7: Send tickets and reminders
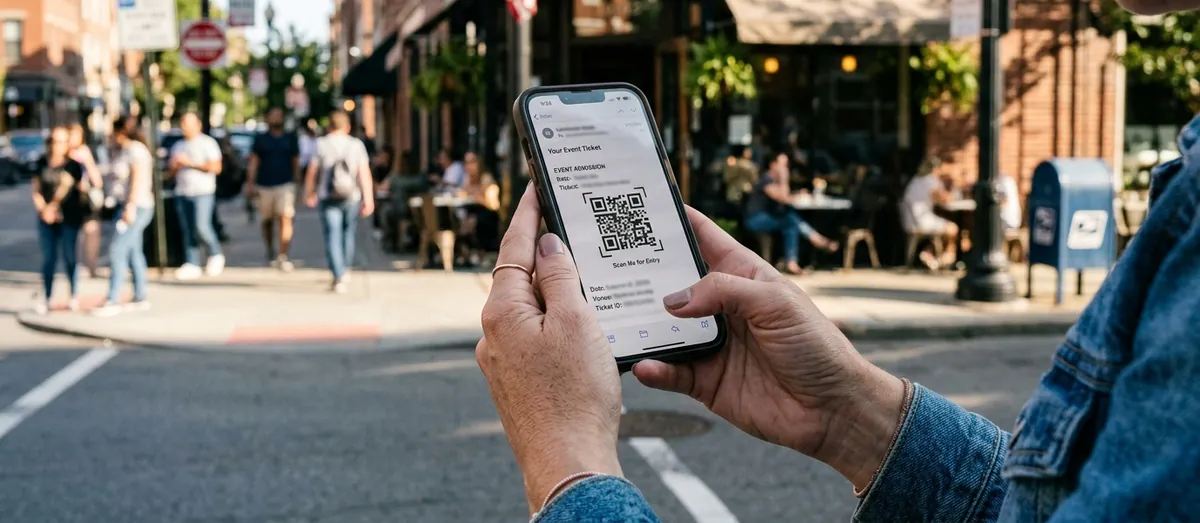
After payment, each buyer should get an email with their ticket, the date, time and address. A reminder the day before cuts forgotten bookings a lot. More ideas in how to reduce no-shows at classes and workshops.
Step 8: Promote your event
You don’t need ads to fill a small event:
- Put the booking link in your Instagram bio and stories.
- Share it in WhatsApp groups and your newsletter.
- Ask past guests to bring a friend.
- Partner with a local café, shop or studio.
- Post a reminder when only a few seats are left.
Step 9: Check people in
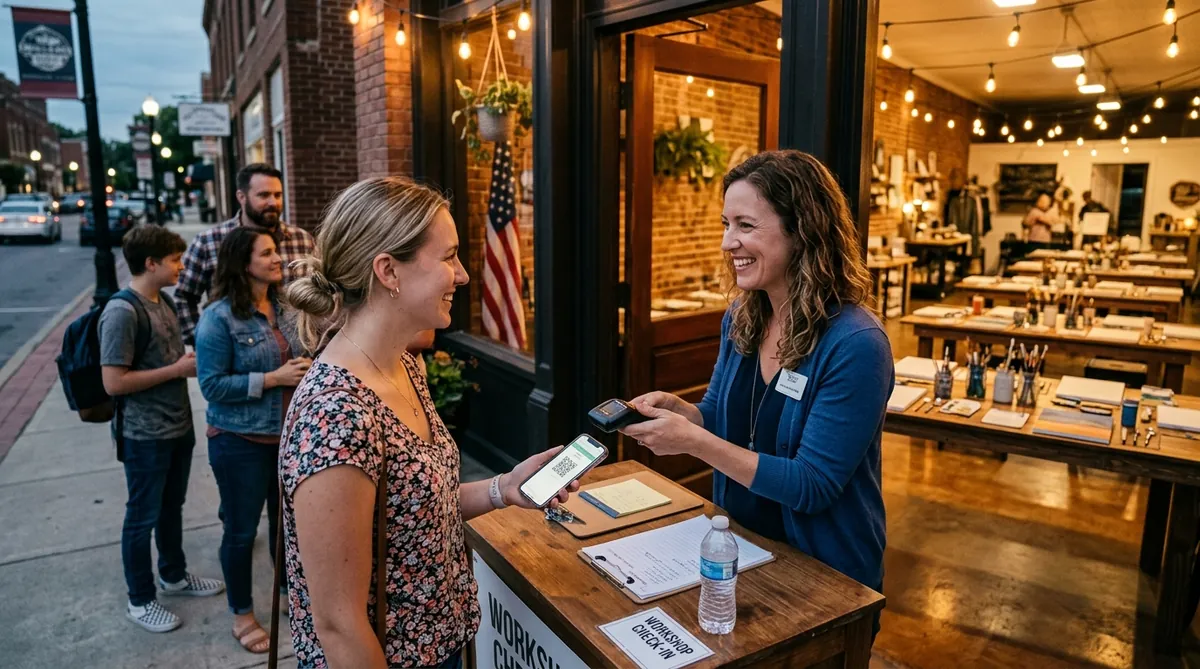
On the day, open your attendee list or scan each QR ticket with your phone. You know who arrived and who didn’t, without paper lists.
Selling tickets with Passfinch
Passfinch is built for exactly this: classes, workshops and small events. You get a booking page with dates and seat limits, card payments, QR tickets by email, reminders, phone check-in and weekly payouts to your bank. Buyers pay exactly your price, with no fee added at checkout.
It costs $0 per month: 3% of each paid ticket plus card processing, and nothing on free events. Create your first event for free, or see all features.
Quick recap
- Decide dates, capacity, ticket types and refund policy first.
- Compare platforms on the total fee per ticket, not the headline.
- Show one all-in price, cap your seats and take payment upfront.
- Send tickets and a reminder, promote with your own channels, and scan at the door.