

How to sell tickets for a pottery class (without the DM chaos)
A practical guide for pottery teachers: set prices, cap seats per wheel, take payment upfront, handle no-shows and fill every class from Instagram.
· 5 min read
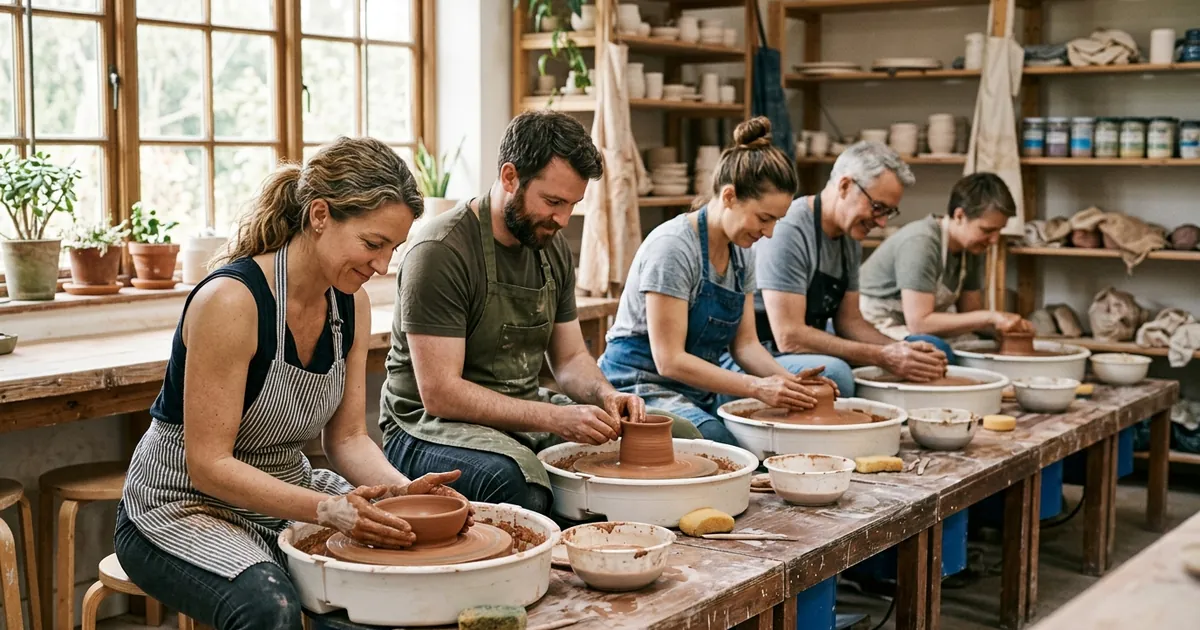
If you teach pottery, you probably know the routine. Someone sees your post, sends a DM, asks about dates, asks again about the price, says they will pay on the day, and then does not show up. Meanwhile three other people asked for the same seat.
The fix is not working harder on your inbox. It is putting every class behind a simple booking page, where people choose a date, pay, and get a ticket. This guide walks through how to set that up so your classes fill without you chasing anyone.
Decide what you are actually selling
Before you set up anything, write down the three things every booking needs:
- The format. A one-off taster session, a weekly course, a private group, or a date night. Each one sells differently, so give each its own listing instead of one vague “pottery class”.
- The real capacity. Count wheels, not chairs. If you have six wheels, you have six seats on a wheel class, even if the room holds twelve. Hand-building sessions can usually take more people than wheel sessions.
- What is included. Clay, glazing, firing, aprons, and when people can collect their pieces. Most questions you get by DM are answered by a clear “what’s included” paragraph.
Price the seat, not the hour
Pottery classes carry costs that people do not see: clay, glaze, kiln firings, studio rent and your prep and cleanup time. A useful way to price is to add up the cost of one full session (materials, firing, rent share, your time) and divide by the number of seats you realistically fill, not the maximum.
A few things that tend to work:
- Show one clear price. If the buyer sees one number on your page and a higher number at checkout, many will leave. Choose a booking tool where the price you set is the price people pay.
- Use ticket types for different options. For example “Wheel seat” and “Hand-building seat”, or a “Bring a friend” ticket for two people.
- Offer an early price only if you will actually stick to the deadline. An early-bird ticket with a limited number of seats is easier to manage than a discount code.
Take payment when people book
“I’ll pay on the day” is the main reason for empty wheels. When people pay upfront, they show up. It also means you are not holding a seat for someone who changed their mind.
Taking payment upfront also makes your refund policy matter, so write it down before you publish. A common approach is a full refund up to a set number of days before the class, and a transfer to another date after that. Put this policy on the booking page so nobody is surprised.
Tip: if you offer free taster sessions, still ask people to book a ticket. A free ticket with a name and an email gets you far fewer no-shows than “just come by”.
Put all your dates on one page
People rarely book the first date they see. They want to compare. Instead of posting a new link for every class, use one booking page per format with all the upcoming dates listed, each with its own seat count. When a date fills up, it shows as sold out and people pick the next one. That “sold out” label also helps sell the remaining dates.
If you run the same class every week, set it up as a repeating date so you are not recreating it each time.
Share the link where your students already are
Most pottery students find classes on Instagram, through friends, or by searching for “pottery class near me”. Make the booking link easy to find in all three places:
- Instagram bio and stories. Use the link sticker on stories every time you post work from a class. “Two seats left for Saturday” works better than “link in bio”.
- Your Google Business Profile. Add the booking link as your website or booking URL so people searching nearby can book in one tap.
- Every reply. When someone does DM you, answer with the link instead of the details. The page already has the dates, the price and the policy.
Make check-in quick
On the day, you want to start the class, not tick names on a printed list. With QR tickets, students show the ticket on their phone and you scan it at the door with your own phone. Each ticket works once, so a screenshot cannot be used twice. A short reminder email the day before also cuts down on people forgetting.
Keep the people who came
The students who already took one class are the easiest to fill your next one. After each session:
- Tell them when their pieces will be ready to collect and how.
- Mention the next format they could join, for example a four-week wheel course after a taster.
- Keep your attendee list (with permission) so you can announce new dates.
A simple setup checklist
| Step | Done when |
|---|---|
| Formats written down | Each has a name, a capacity and “what’s included” |
| Price set | One clear price per ticket type |
| Refund policy | Written on the booking page |
| Dates added | All upcoming dates on one page, with seat limits |
| Link shared | In your bio, on Google, and used in every DM reply |
| Check-in ready | You can scan a ticket from your phone |
Where Passfinch fits
Passfinch was built for exactly this kind of class. You create a booking page with your dates and seat limits, students pay by card and get a QR ticket by email, you scan tickets on your phone at the door, and your sales are paid out to your bank every week. The Free plan costs nothing per month: we keep 3% of each paid ticket plus card processing, and buyers pay exactly the price you set.
You can see how it works for pottery classes or create your first class page in a few minutes.